

Understanding The Template Model of Nexscript Smart-Contracts on Nexa
October 18, 2024
1. Overview
In this article, we explore how smart contracts work on Nexa using Templates in Nexscript. Nexa is a UTXO-based network, meaning smart contracts are tied to UTXOs. Unlike Ethereum-like networks where contracts operate in a way similar to micro-services, Nexa’s smart contracts are built directly into the coins, also known as UTXOs, and govern how they can be spent. The UTXO architecture presents interesting challenges for complex smart contracts but Nexscript simplifies things considerably and makes it far easier write contracts in a similar way to Solidity on Ethereum.
The use of Templates separates contract logic from the key parameters used in those contracts, enabling better security, flexibility, and reusability. Templates can stay the same as the parameters of a contract change. Effectively, the template is the contract.
What Is A Template?
A ‘Template’ is the contract code that runs when a smart-contract is executed within a transaction. It is essentially a ‘program’ that runs and it sets controls on whether some funds can be spent or not. Another key related concept is ‘Constraints’. Constraints are parameters which get supplied to the template at the time of execution. By separating these parameters outside of the template, it makes the contracts much more reusable. A Nexa address is generally made up of the template and constraints that get piped into it. To be a bit more specific, the address is made up of hashes of these two components to improve privacy and efficiency.
Security
Contract code can be rapidly assessed for security purposes just by checking the hash of the template, which is found in every UTXO. If you know the hash matches a known template, then you can know that the contract matches that template. This means a knowledge base of known and secure templates, and therefore template hashes, can materialise so that users can use them without worrying about risks.
Flexibility
By keeping the main contract code separate from the parameters it uses, smart-contract development is much more flexible. Creating more complex chained contracts, like covenant contracts (discussed later in this article series), become easier to build and easier to recognise on chain, because the template hash in the UTXO matches a specific smart-contract instead of being unique to both the contract code and it’s variables. This makes it easy to track a specific template through iterations of usage.
Reusability
By keeping the parameters separate from the template, those parameters can be more easily utilised and updated by UTXOs that interact with each other within a transaction. The templates themselves also become reusable by anyone who wants to use that smart-contract without baking in the parameters to any specific use case.
In fact, Nexa has taken this advantage even further. Should a contract become extremely popular then it can be included as one of the default contracts within script, and instead of having to provide the full contract code in the transaction, it will be assigned a template number and it can use this single byte value instead. Nexa already uses this method for the P2PKT output type, and therefore gains an efficiency improvement in doing so.
Ok, so let’s jump into building our contract.
2. Defining a Simple Time-Locked Contract
Ok, let’s dive in and begin by looking at a basic time-locked contract, where funds can only be spent after a certain block height has been reached.
pragma nexscript ^1.0.0; // nexscript version used of 1.0.0

contract TimeLockedContract(pubkey spender, int lockTime) {

    // Function that defines when the UTXO can be unlocked
    function canUnlock(sig spenderSig) {

		    // Check the current block height is greater than or equal to lockTime
        require(tx.time >= lockTime);

        // Verify the spender's signature
        require(checkSig(spenderSig, spender));
    }
}
In this contract we define:
- in the first like that this is a Nexscript contract using nexscript version 1.0.0.
- a new contract is created with the name TimeLockedContract and it includes two parameters.
lockTimeis the block height at which funds can be spent.spenderis the public key of the person allowed to spend the funds.
These parameters are inside what we call the ‘Constructor’. Any parameters in the Constructor will be baked into the contract during instantiation.
We are also creating a function within the contract called canUnlock . canUnlock includes one argument spenderSig which is the signature linked to public key which was defined as spender in the Constructor . The arguments within functions are supplied when satisfying the requirements of a smart-contract, i.e. when trying to spend the UTXO of a smart-contract.
The function canUnlock ensures two conditions are met:
- the block height, called using tx.time, must be greater than or equal to
lockTime, i.e. the parameter provided in the constructor by the creator of the contract. - and
spenderSig, the spender’s signature, must be valid by matching thespenderpublic key parameter provided in the constructor by the creator of the contract.
If these conditions are satisfied when spending this UTXO then the nodes of the network will consider it valid and the funds in it can be used in the outputs of the transaction it is included in.
3. Testing In The Playground
We will now jump over to the Nexscript to quickly and easily test out our contract.
Important Note: that in our example we used the Nexa mainnet, whereas we recommend using the testnet for testing purposes. This can selected from the dropdown at the top of the page.
Checking Our Template & Constraint
Now that we have actually create an instance of our contract we can actually have a direct look at the template and the constraint, or at least the hashes of them.
If we go to the Nexa explorer we can see our contract address at: https://explorer.nexa.org/address/nexa:nq4sq9826rn0dkxt4x7kdyffzte5wr24ejl7nng5uut96y70urlktp97jssuvt83t8k3dp34kz2wvux9
If we open the JSON tab we can see a bunch of details about this address and under the “asm” field we can see some hex values.
0 ead0e6f6d8cba9bd66912912f3470d55ccbfe9cd e7165d13cfe0ff6584be9421c62cf159ed168635
We can ignore the zero. The second value is the hash of our template and the third value is the hash of our constraint. So if anyone else uses the exact same contract, it will also have the exact same value of ead0e6f6d8cba9bd66912912f3470d55ccbfe9cd in it’s address. So now we can know just by looking at an address whether someone is using our contract or not! The constraint will be unique to the values used in the parameters. So if a different lockTime value is used, we will get a different constraint hash.
4. Implementing Our Contract Using the Nexscript SDK
Compiling The Contract
First we need to compile the contract. We can do this using the Nexscript CLI. First install the CLI using npm install @nexscript/nexc . Then you need to run nexc -o TimeLockedContract.json TimeLockedContract.nex . The .nex file is the file containing your contract code and this should be in the directory you are running this command from. The .json file is the artifact that you are compiling. You can name this what you want, but we will use TimeLockedContract.json for our example
Importing Libraries
We need to import the various libraries we need to build our contract, build our key pair and connect to the Nexa test network.
import { ElectrumNetworkProvider, Contract, SignatureTemplate } from '@nexscript/nexscript';
import artifact from './contracts/TimeLockedContract.json' with { type: "json" };
import libnexajs from 'libnexa-js';
import { ElectrumClient } from '@vgrunner/electrum-cash';
Establishing A Network Connection
Next we need to establish a connection to the Nexa network, or in this case the Nexa test network.
// Establish the connection to the Nexa testnet
const provider = new ElectrumNetworkProvider('testnet');
Creating A Key Pair
Now we need to create a crypto key pair for our wallet. We have hardcoded a private key in here, but of course you should generate your own secret private key(s) so that no one can access your funds.
// Generate Recipient wallet. You can use playground.nexscript.org to generate new wallets.
const privKey = "6FjwBuxSzAHkDNGRoE7JYnNdqBVhpnnCLogYQi2xndUkNyB4xCqM";
const spenderKeyPair = new libnexajs.PrivateKey(privKey);
const spenderPubkey = spenderKeyPair.toPublicKey();
const spenderAddress = spenderKeyPair.toAddress(libnexajs.Networks.testnet);
Create Our Contract Parameters
Next we need to create the parameter values specific to our contract. These are the lockTime and spender values. The lockTime defines what block height our funds will be locked until, and the spender defines who can spend the funds in our contract.
Important Note: In a real application you would actually use BigInt(await provider.getBlockHeight()) to set the current block height in the contract programmatically and then store that value on a database for accessing the contract at a later time. But to keep our application simple we will just enter this value manually. Make sure to enter the current value for the testnet block height.
// Set the lockTime and spender public key
const realCurrentBlockheight = await provider.getBlockHeight(); // For our .withTime() function when building the transaction.
const currentBlockheight = 660465n // Get the current block time from an explorer and enter it here.
const lockTime = currentBlockheight + 5n;  // Use the block height 5 blocks in the future.
Create Our Contract
Now we can create our contract with the parameters we just defined. We use the artifact of our TimeLockedContract and the two required parameters. We can then log the address the console so that we can fund it.
// Instantiate the contract with the specified lockTime and spender pubkey
const timelockContract = new Contract(artifact, [spenderPubkey.toString(), lockTime],  {provider});

// Log the contract address
console.log(`Contract address: ${contract.address}`);
Sending Funds to the Contract For Deployment
After the contract address is created, the next step is to send funds to this address. These funds will be locked by the contract until the defined conditions are met. We need to do this manually, so grab the address from the console and send it some testnet NEXA. Once you have done that you can move on. We recommend using Wally Wallet for this.
Checking The Contract Balance
For the purposes of our simple application we are going to add an if statement to check whether we actually have any funds on our contract yet. If we do have enough funds then we can build our transaction, if not then we need to inform ourselves of that fact via a console log. We have used 10,500 sats to make sure we have enough for both the spend and the transaction fee.
if(balance >= 10500n ){
    // Build the transaction to spend the contract funds.
} else {
    console.log(`Contract balance is `, balance, ` .Please send more funds to the contract.`);
}
Building A Transaction To Spend From The Contract
Now, to unlock and spend the funds! The block height must reach or exceed lockTime, so make sure this has happened. You can check the explorer at https://testnet-explorer.nexa.org/ to see what block height the network has reached.
The only parameter we need to include when spending from the contract is a valid signature. To generate this we have to use the SignatureTemplate() function and we have to supply it with the spender’s private key.
We are sending this to the spender’s address and we use the .send() function to actually send the transaction to the network.
We use txTemplate.txid to grab the transaction ID for the transaction we just sent.
Important Note: Normally for such an application we would add some code to calculate the exact transaction fee needed so that we can withdraw all funds within a single transaction, but this is beyond the scope of this example so to keep things simple we will simply execute simple spend from it, and the leftover funds will be sent as change back into the contract.
// Build the transaction to spend the contract funds.
const txTemplate = await timelockContract.functions
    .canUnlock(new SignatureTemplate(privKey))
    .withTime(realCurrentBlockheight)
    .to(spenderAddress.toNexaAddress(), 10000n)
    .send();

// Log the transaction ID of the transction for debugging at https://testnet-explorer.nexa.org/
console.log(`Transaction ID: `, txTemplate.txid);
Bringing It All Together
import { ElectrumNetworkProvider, Contract, SignatureTemplate } from '@nexscript/nexscript';
import artifact from './contracts/TimeLockedContract.json' with { type: "json" };
import libnexajs from 'libnexa-js';

// Establish the connection to the Nexa testnet
const provider = new ElectrumNetworkProvider('testnet');

// Generate Recipient wallet. You can use playground.nexscript.org to generate new wallets.
const privKey = "6FjwBuxSzAHkDNGRoE7JYnNdqBVhpnnCLogYQi2xndUkNyB4xCqM";
const spenderKeyPair = new libnexajs.PrivateKey(privKey);
const spenderPubkey = spenderKeyPair.toPublicKey();
const spenderAddress = spenderKeyPair.toAddress(libnexajs.Networks.testnet);

// Set the lockTime and spender public key
const realCurrentBlockheight = await provider.getBlockHeight();
const currentBlockheight = 660465n // Get the current block time from an explorer.
const lockTime = currentBlockheight + 5n;  // Use the block height 5 blocks in the future.

// Instantiate the contract with the specified lockTime and spender pubkey
const timelockContract = new Contract(artifact, [spenderPubkey.toString(), lockTime],  {provider});

// Log the contract address
console.log(`Contract address: `, timelockContract.address);

const balance = await timelockContract.getBalance();

if(balance >= 10500n ){
    // Build the transaction to spend the contract funds.
    const txTemplate = await timelockContract.functions
        .canUnlock(new SignatureTemplate(privKey))
        .withTime(realCurrentBlockheight)
        .to(spenderAddress.toNexaAddress(), 10000n)
        .send();

    // Log the transaction ID of the transction for debugging at https://testnet-explorer.nexa.org/
    console.log(`Transaction ID: `, txTemplate.txid);
} else {
    console.log(`Contract balance is `, balance, ` .Please send more funds to the contract.`);
}
You can also see an example of our contract being used in an on-chain transaction here: https://testnet-explorer.nexa.org/tx/7be38b04f71f6b9e24a69ec4b3ea0c46eb5e7c22796d28799878d69f8e54a468
8. Summary
In this article, we introduced Nexscript smart contracts on the Nexa network, explaining how Templates work to separate contract logic from parameters, improving security, flexibility and reusability. We walked through the creation of a time-locked contract, the deployment process, how to fund the contract, and how to unlock and spend the funds when conditions are met. One of the key benefits of the Template system on Nexa is the ability to verify contracts through a template hash, improving contract security and allowing for more advanced interactions, which we will cover in future articles.
One point important point, we recommend testing smart-contracts using testnet before doing anything on mainnet, and if you really want to do testing on mainnet, then use very small amounts. It’s very possible for you to make mistakes in your contracts and lose your funds forever or build an insecure contract and have someone steal the funds from you. Be very mindful of this!
We hope this has helped you get an initial grasp of the basics of using the Nexscript smart-contract system on Nexa. We recommend using the nexscript.org documentation website for further information on the specifics of the language and what is possible with it.
We will soon be releasing more technical content on Nexscript and diving much deeper into the huge potential it offers smart-contract developers.
Keep Reading

Beat Peter’s FPGA: The BRAM-ring Bounty
On 6 October 2026, Peter Rizun announced a bounty on X with a 0.2 BTC prize pool (around $16,000) for anyone who can beat the FPGA’s efficiency. The main prize is 0.1 BTC, with smaller prizes for smal...
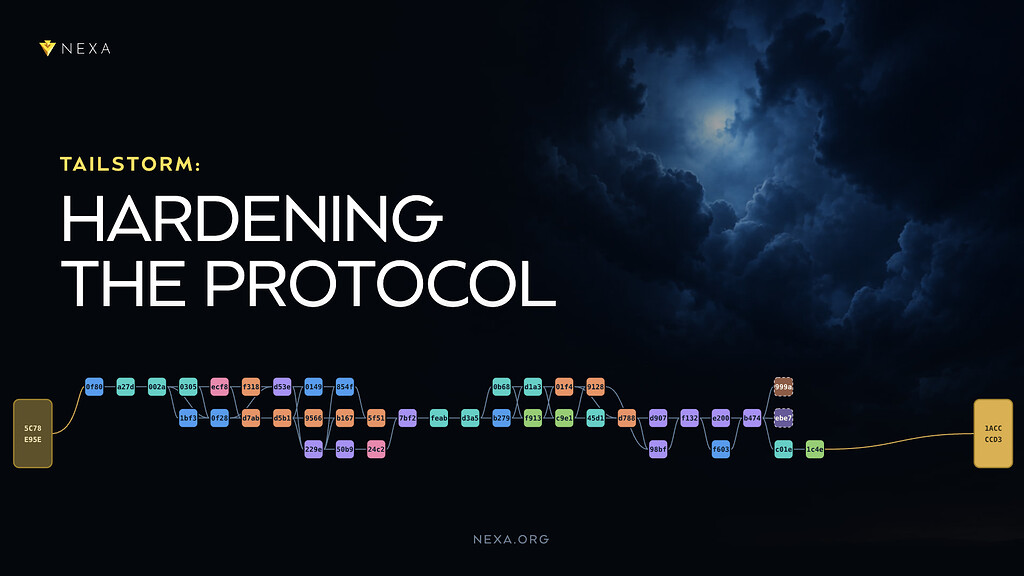
Tailstorm: Hardening the Protocol
Tailstorm replaces single 2-minute blocks with a DAG of subblocks that are tied together by a summary block, while keeping the 2-minute settlement cadence. The code already ships inside Full Node 2.2....
New Release: Otoplo Wallet 5.3.0
We’re excited to share the release of Otoplo Wallet 5.3.0 is now available. This update adds a new option to refresh vault balances and is ready for desktop and mobile platforms. While vaults have bee...
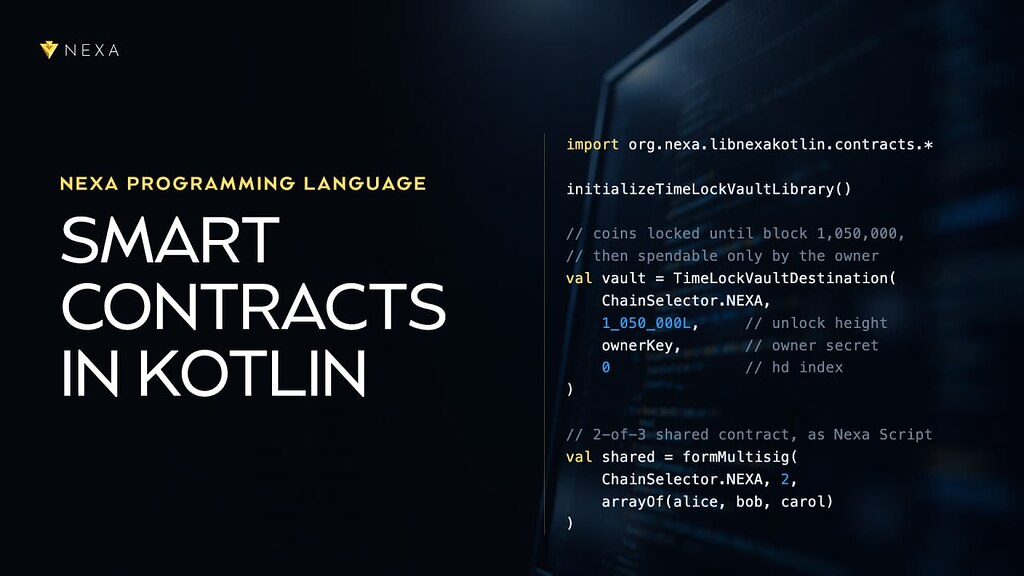
Nexa Programming Language (NPL): Smart Contracts in Kotlin
Nexa Programming Language (NPL) is a domain-specific language and compiler for writing Nexa smart contracts. Each smart contract includes rules that decide how coins can be spent. NPL lets developers...

Nexa Monthly Newsletter September 2026: Ahead of the Storm
September was a very active month, with many significant developments across the ecosystem. It started with the release of Nexa Full-Node 2.2.0.0, a major core protocol release that included preparato...

Hardware Acceleration: The Blitz Card
We’ve already explained the logic and how to build a validation engine out of six components on paper in the first three articles of the series. Now it’s time to move to the real silicon: the digital...
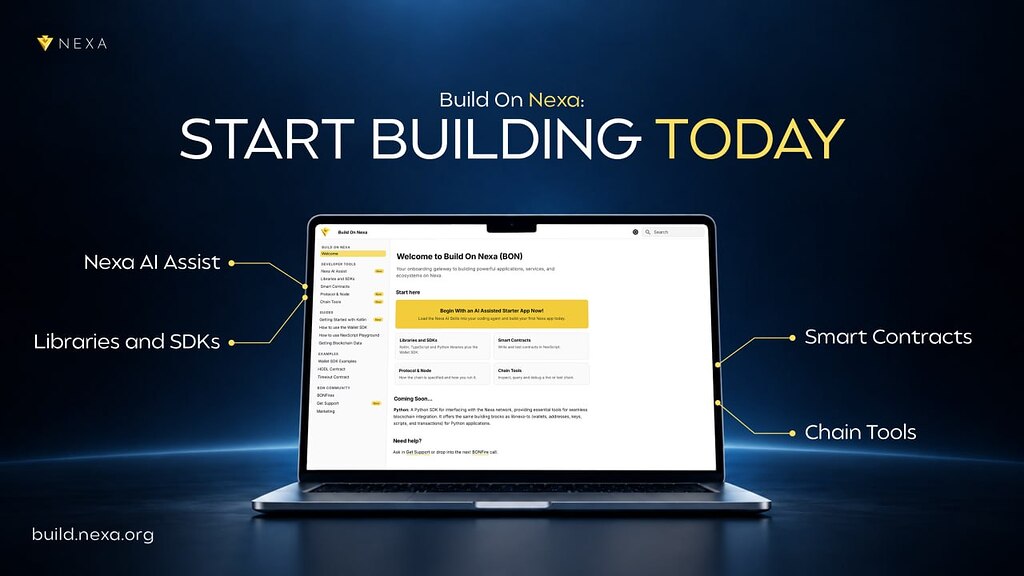
Build On Nexa: Start Building Today
Build On Nexa (BON) is your onboarding gateway to building powerful applications and services on Nexa. The site is a repository of guides, documentation, and resources for developers seeking support g...
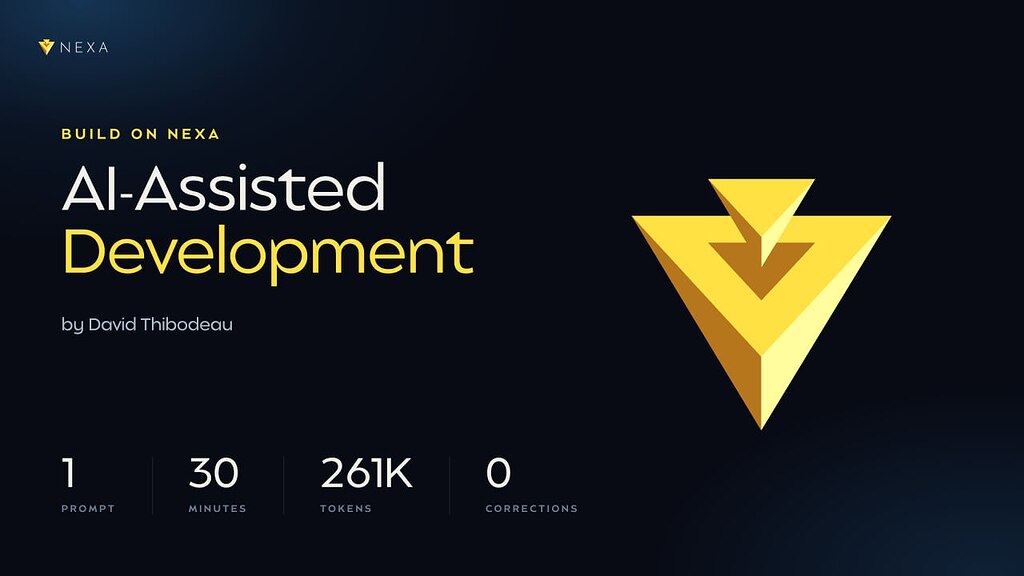
Build on Nexa: AI-Assisted Development with David Thibodeau
Today the Nexa team wants to introduce you to a couple of tools we have created for our community to assist you with building applications on Nexa. We know that some of you may be experienced develope...
Nexa September Highlights: Full-Node 2.2.0.0 Released
The biggest highlight in September was the release of the new Nexa Full-Node version, a stepping stone toward the upcoming hard fork and activation of the Tailstorm protocol. Tailstorm will transform...